Set Up Remote Access
Getting Started
Use the C-more programming software to configure the panel project. If the C-more panel has an older version of firmware, the software can upgrade the firmware in the panel. Remote Access settings are saved in the project. If you load a new project that does not have Remote Access enabled, you cannot use Remote Access.
Verify the C-more panel Firmware Version
You must have C-more programming software and C-more panel firmware Version 2.4 or later to use Remote Access. If your panel has an earlier version of firmware, upgrade the panel firmware locally. See Upgrade Firmware.
Configure IP and Web Server (Secure HTTPs)
Configure the panel IP information before you configure Remote Access. See Panel Network: Ethernet Port Setup.
Enable the Web Server (Secure HTTPs). See Panel Network: Web Server Setup.
Remote Access Function Tab Setup
Remote Access is disabled in the panel by default. You must also activate the Web Server (Secure HTTPs) feature on the Web Server (Secure HTTPs) tab.
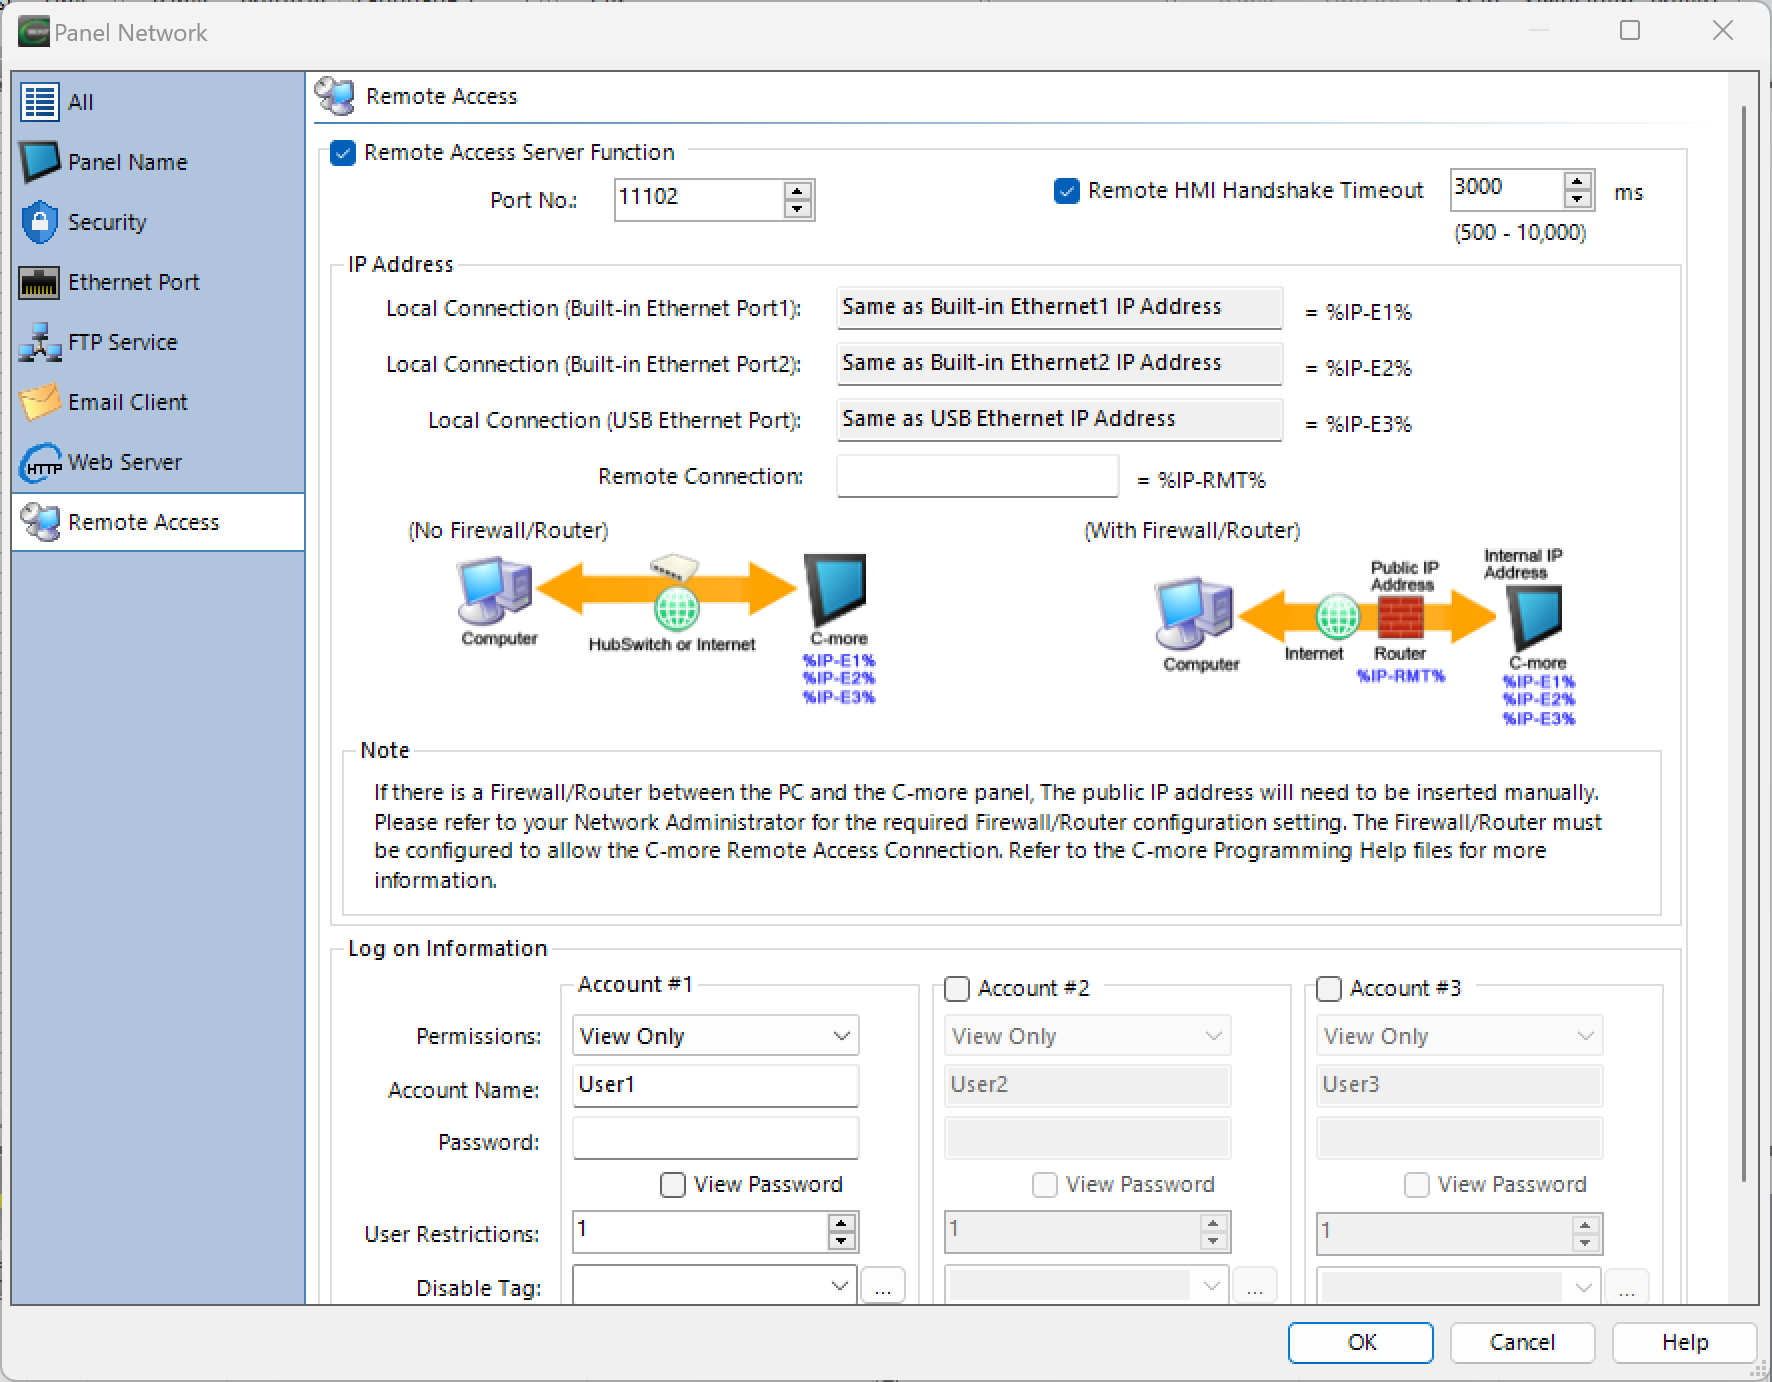
Find Remote Access in the Panel Network Setup window.
| Tip: | If external users access the C-more panel via the Internet, use a firewall to reduce the chance of unauthorized access. You can assign passwords to C-more Remote Access accounts, but a firewall is more secure. Most Ethernet routers offer firewall support. |
Remote Access Server Function
Port No.
Use this setting for connections through a firewall or router to set destination TCP port numbers for remote access software and the listening panel TCP port. To access a panel from outside the network, each local network panel must use a unique port number.
Local Connection (No Firewall/Router)
If the PC and the C-more panel are on the same local network with no firewall or router between them, use the panel IP Address. Leave the Remote Connection field empty.
Remote Connection (With Firewall/Router)
If you have a firewall or router between the PC and the C-more panel, enter the public IP address in the Remote Connection field. Ask your network administrator for the required firewall/router configuration settings. The firewall/router must allow the C-more Remote Access connection. See Set Up Router for Remote Connection.
| Note: | User accounts are for remote access permissions. The C-more programming software has project password features you can assign to screens and objects to help control access. Both remote and local remote operators use these passwords. You can configure up to 8 group names for passwords. For more information, see Password. |
Permissions
You can configure and store three Remote Access user accounts in the panel project. Use the down arrow  to select a permission setting. If an account has no user name or password, any user: authorized or unauthorized: can connect to the panel remotely. Each account uses one of the following permission levels:
View and Screen Change
Remote users can view the screen and activate Screen Change objects. The remote user cannot activate other objects. If the active screen has no Screen Change objects, the remote user cannot change the screen. When you create screens in a C-more project, place Screen Change objects where remote users need navigation access.
| Note: | This mode can affect the local operator if the remote user changes screens while the local operator is using the panel. |
Full Control
Remote users can view and control all screen objects as if at the local site.
This mode can affect the local operator if the remote user changes screens while the local operator is using the panel. If the C-more panel controls an application that could cause damage or injury to local operators or equipment, limit access to authorized users only.
Account Name
Each account has a configurable Account Name field. Account names follow these rules:
-
No two account names can be the same.
-
Only one account name can be blank.
-
Account names have a maximum of 64 characters.
-
Text is case-sensitive.
-
Each space counts as one character.
The C-more panel project stores Account settings. Enable the Remote Access feature to activate accounts. Account 1 is the default active account. Leave the field blank if no account name is required. If an account has no user name or password, any user: authorized or unauthorized: can connect to the panel remotely.
Password
Each account has an optional Account Password field. Passwords follow these rules:
-
Each separate account can use the same password.
-
You can leave the password blank.
-
Passwords have a maximum of 64 characters.
-
Text is case-sensitive.
-
Each space counts as one character.
The C-more panel project stores passwords. Enable Remote Access before accounts are active. Account 1 defaults to a blank password. Leave the field blank if no password is required. If an account has no password, any user: authorized or unauthorized: can connect remotely using the permissions configured for that account.
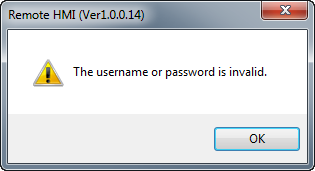
| Note: | If an account name and password are configured and the user enters incorrect credentials, the C-more panel denies access, displays an invalid login message, and returns to the login screen. |
User Restrictions
Each Remote Access account supports a maximum of 5 remote user connections at once. With all three accounts configured at the maximum, the panel supports up to 15 remote users. Enter the maximum number of users for each account.
| Note: | If a remote user attempts to connect to an account that has reached the maximum number of users, the C-more panel displays an error. The user must wait until another remote user logs out before connecting. |
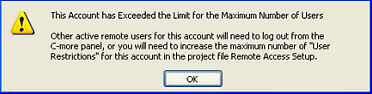
If there are multiple remote users connected simultaneously, it can affect local panel operations. If multiple users have screen change or full control permissions, conflicting inputs can cause confusion. For applications where the panel controls moving equipment, limit screen change and full control accounts to one remote user.
Remote Access Control and Status Tags
Each account supports two optional tags: a Disable Tag and a Notification Tag. Use these tags in the C-more project like any other tag to display status or control the Remote Access feature.
Disable Tag
Click the down arrow to select a Tag Name or use the Browse button  to add a new Tag Name. The tag is Off by default. Assign it to any discrete control object in the project or the PLC. When this tag turns on, the associated account is disabled and remote users cannot connect using that account. If the tag turns on while a remote user is connected, the panel drops the connection and the remote user receives a connection error.
| Note: | Assign this tag to a switch or button on a screen in the C-more project or a PLC hardware input connected to an external switch or button outside the panel. This gives the local operator direct control to enable or disable remote access for safety or security purposes. The remote user must contact the local operator and obtain permission before connecting. The local operator then enables the associated remote access account. |
Notification Tag
Click the down arrow to select a Tag Name or use the Browse button to add a new Tag Name. This tag is Off by default and On when a remote user connects to the assigned account. Assign this tag to an indicator object in the C-more panel project or a PLC I/O point and connected to an indicator light of some type.
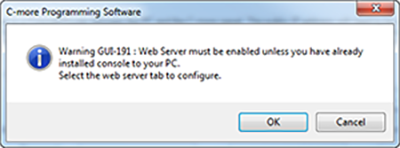
After you enter the Remote Access port number, IP address, and login information, click OK to save the configuration. If you have not yet configured the Web Server (Secure HTTPS) tab, a warning message reminds you to enable the web server feature on the panel.
Transfer the Project to the Panel
Before connecting remotely, establish backup processes and procedures to protect personnel and equipment if communication is interrupted.
Load the project to the C-more panel. Any new Panel Network settings load with the project.
| Note: | Do not use momentary buttons with Remote Access where communication delays or communication loss are possible. |
| Note: | Wireless communication such as Wi-Fi can produce an unstable connection due to network traffic volume and electromagnetic interference. |
 Related Topics
CM508