Circle Object — General Tab |
Topic:
CM078 |
Add a configurable circle to a project. Some uses and features for Circle Objects include but are not limited to:
- Identify equipment, components, buildings, locations, etc.
- Create circles that rotate, appear or disappear, or change colors according to the status of the assigned Tag Name
Add a Circle Object to Your Project

-
To add a Circle Object to your project:
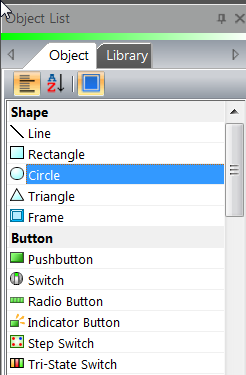
- From the Object menu, select Shape and click on Circle then click on the work area location
— or— - from the Object List, scroll to the Shape topic and double-click on Circle or click and drag the Circle to the Work Area.
- The Circle window opens.
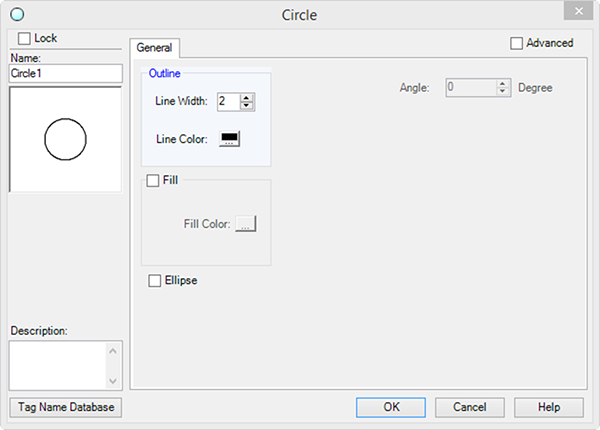
Configure a Standard Circle Object
The General tab is the default. Use this tab for basic Circle Object configuration. Tick the Advanced box for additional options.
Configure an Action
The basic steps are the same for adding any Event Action to an Event. See Adding Event Actions - The Basics.
Complete the remaining fields on the screen with the information here.
| Circle Object Setup: General Tab | |
|---|---|
| Field | Description |
| Tag Name Database | To add, edit, or delete Tag Names, click the Tag Name Database button. |
| Line Width | Click the up and down arrows to select the width of the line. |
| Line Color | Click the line color icon and select the color of the line. 128 colors are available. |
| Fill | To fill the Circle Object with color, tick the Fill box. Click the Fill color to select the color to fill the Circle Object. |
| Ellipse | Tick the Ellipse box to convert the circle to an ellipse shape. When you use Ellipse, Angle is available. |
| Angle | Click on the up and down arrows to adjust the Circle by degrees. |
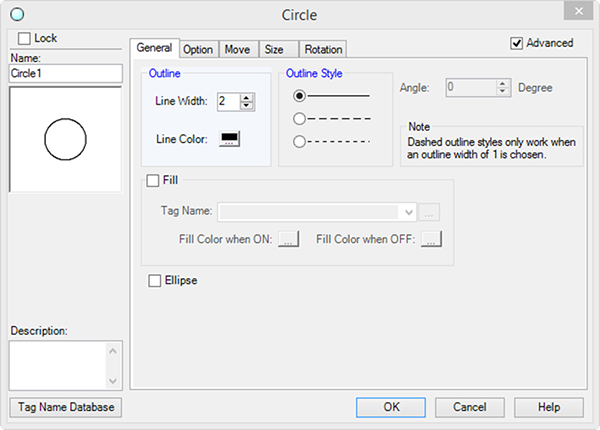
| Advanced | Tick this box for advanced features such as Fill color, Ellipse, and animation features such as Visibility, Move, Size, and Rotate. |
Animate a Circle
- To add animation to a Circle object, tick the Advanced box.
- Use the image and table as references to complete the fields on the screen.
| Circle Object Setup — Advanced Tab | |
|---|---|
| Field | Description |
| Outline Style | Click to select the object line border style — solid, broken line, or dashed. The Dashed Outline styles only work when the outline Line Width is 1. Any other setting does not display a Dashed Outline. |
| Tag Name | Enter or select the Tag Name to control the Circle Fill Color. |
| Fill Color when ON/OFF | Tick the Fill Color box and then click to select the fill color when the Tag Name is ON and when it is OFF. |
| Simulate | Test the Fill Color function of the Circle Object when you select Fill. Click on the ON or OFF button to simulate. You must be on the Advanced tab and select the Fill Color ON/Off feature in order to activate the Simulate feature. |
| Option Tab | Click on Option Visibility tab to control the object visibility. |
| Move Tab | Click on the Move tab to animate the object movement based on Tag Name values. |
| Size Tab | Click on the Size tab to animate the size of the object based on Tag Name values. |
| Rotation Tab | Click on the Rotation tab animate the rotation of the object based on Tag Name values. |
