Add, Delete, Copy, and Paste Screens |
Topic: CM017 |
In this topic, you will find how to:
Navigation Pane — Screen Tab
Many screen functions are in the Screen tab on the Navigation pane. See the table below for descriptions of the Screen Tab icons.
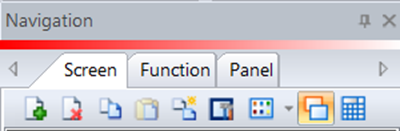
| Navigation Pane — Screen Tab | ||
|---|---|---|
| Icon | Icon Name | Description |

|
Add New Screen | Add a new screen to the project. |

|
Delete a Screen | Delete a screen from the project. |

|
Copy a Screen | Copy a screen to the clipboard. |

|
Paste a Screen | Paste a copied screen to the project. |

|
Duplicate a screen | Duplicate the selected screen; a one-step copy/paste. |

|
Screen Option | Open the Screen Option window so you can enter a screen description, select a screen background color, and assign a password to the screen. |

|
Display | Preview a screen list showing a large icon representation of the screen or a Detailed Screen List. |

|
Screen | Display the Screen List where you can add and edit Project Screens. |

|
Define Keypad | Display the Keypad List to create a user-defined keypad. See Create a User-Defined Keypad. |
Add a New Screen
Add Screens to projects in these ways:

- From the Navigation pane, click the Screen tab.
- Click the New Screen button.
- From the Ribbon Menu select the Screen Tab, then select Screen Library.
- Click the New Screen button.
- Alternately, you may drag a Screen from the Screen Library into the project screen list workspace.
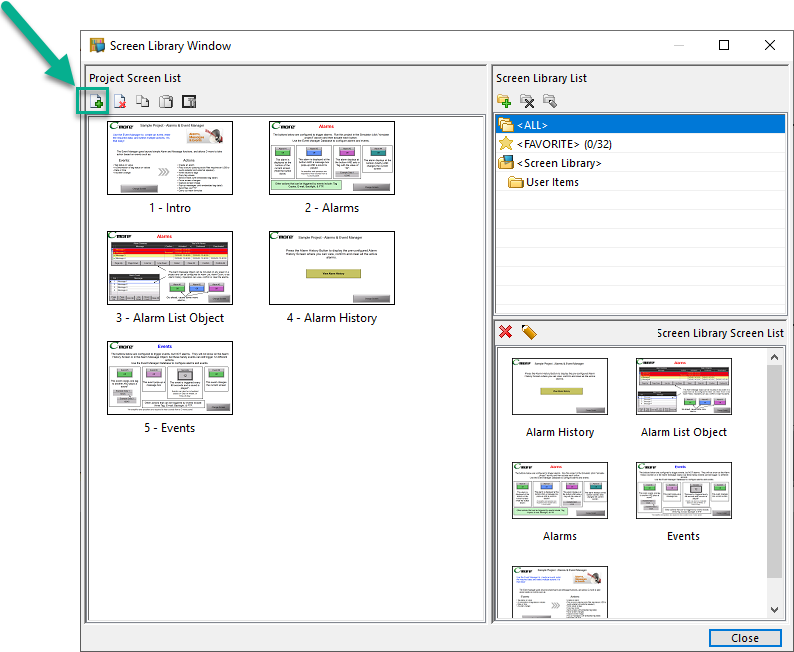
For more details, see Screen Library.
After you create a new screen, use this table to understand settings.
| New Screen Settings | |
|---|---|
| Field | Description |
| Screen Number | By default, the system displays the next available sequential screen number. |
| Screen Name | Enter a name for the new screen to identify the functions on the screen. |
| Background Color | Click to select a background color for the new screen that will enhance the visualization and usability of the objects on the screen. |
| Screen Description | Enter a description up to 400 characters long. This description only appears in the Project printout and is optional. |
Copy and Paste a Screen
Copy Screen, when used with Paste Screen, enables you to create a copy of the selected screen in the same project.
If much of your screen will be duplicated on other screens, you may want to consider creating a Background Screen and assigning it to other screens.
If you want to copy one or a few screens from one project to another project, the Screen Library is a useful tool.
If you want to copy many screens, or some screens and the project Databases, (Tag Name, Message, Events, Address Book, and Recipes), then Import a Project Data File is useful.
The copied screen is pasted to the end of the screen list using the next available screen number. You may renumber, rename, and drag the screen to the location in the list that you desire.
You can copy Screens:
- On the Screen tab, select the screen.
- From the top toolbar, click the Screen menu and select Copy Screen.
- From the Screen menu, select Paste Screen.
- The screen name and number are generated automatically.
- From the Navigation Pane Screen Tab, right-click on an existing screen.
- Click the Copy Screen icon.
- Click the Paste Screen icon.
- The screen name and number are generated automatically.
- Select the screen you want to copy.
- Right-click and select Copy Screen.
- Right-click and select Paste Screen.
- The screen name and number is generated automatically.
Duplicate a Screen
Duplicating a screen is essentially a one step Copy/Paste.
You can duplicate screens in these ways:
- On the Navigation pane Screen tab, select the screen you want to duplicate.
- Right-click and select Duplicate.
- The duplicated screen appears directly below the original screen with a new screen number.
- On the Navigation pane Screen tab, select the screen you want to duplicate.
- From the Toolbar, select the Duplicate icon.
The duplicated screen adds to the end of the screen list using the next available screen number. You may renumber, rename, and drag the screen to the location in the list that you desire.
Delete a Screen
Delete Screen is used to delete a selected screen from the project.
Delete Screens from the project in the following ways:
- Open the screen you want to delete.
- From the Screen menu, select Delete Screen.
- Select the screen you want to delete.
- Right-click and select Delete Screen or click the Delete icon in the Navigation toolbar.
- Click anywhere in the screen you want to delete.
- Right-click and select Delete Screen.
Using any of these methods opens the Delete Screen window.
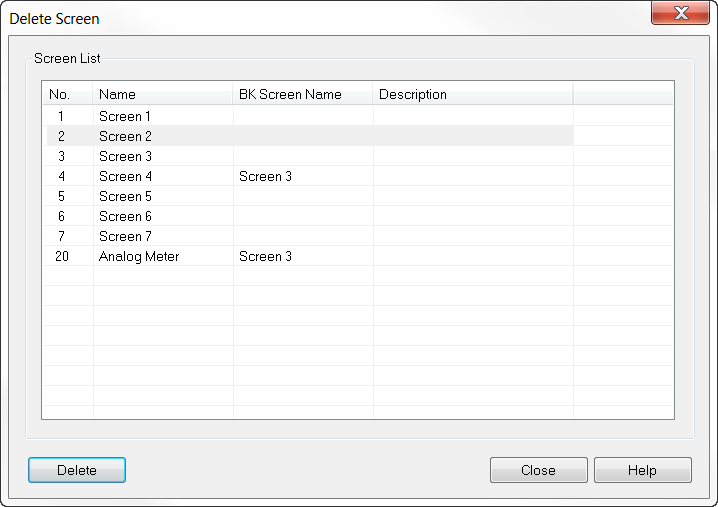
- In the Screen List, select the screen. To delete multiple screens at once, hold down the Ctrl key and select the screens to delete.
- Select Delete.
- Click Yes to confirm the deletion.
- Click Close.
