The Autotune function allows you to fully tune your SureServo2 system for optimum performance. Unlike One Touch Tuning, the Autotune function fully works the motor and drive as if the system were in operation. When the tuning is complete you will be able to automatically update system parameters with the results.
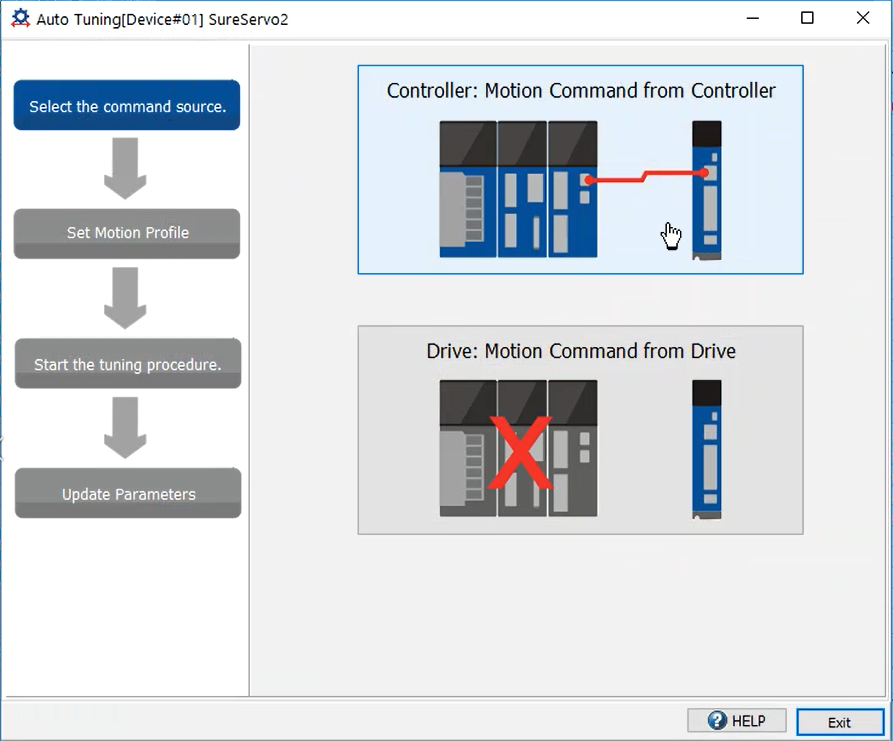
To begin, click Auto Tuning on SureServo2 Pro's main menu, then select a command source. Choose Motion Command from Controller if you have a PLC connected to the system. Otherwise, choose Motion Command from Drive to use a simple drive/motor combination.

Once you've selected a command source, a safety notice will appear:
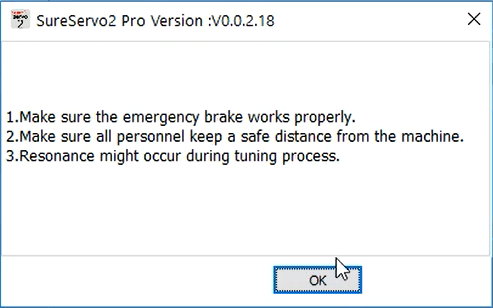
After verifying system safety, click OK.
If desired, adjust the auto-tuning bandwidth (P2.105) and overshoot (P2.106) levels.
The higher the bandwidth setting, the higher the bandwidth will be after auto-tuning. If the margin is insufficient, it may cause machine jitter. If the value is too low, system response will be slower.
As the overshoot level value increases, the maximum overshoot allowed by auto-tuning increases but system response also increases. As the overshoot level value decreases, the maximum overshoot allowed by auto-tuning decreases, but system response also decreases.
If you change the values, click Download. Otherwise, proceed to Step 1.

Turn the Servo ON. You can do this using the controls on the servo system, or by clicking the Servo ON button in the software. After you click Servo ON you will be prompted to check the emergency brake and that personnel are clear. Once ready, click OK to enable the servo.

Set the Jog Speed, Acceleration/Deceleration time, and S-curve values. Click the Download button to send those values to the drive.

If the combination of values is not valid, you will get errors when you start auto-tuning and the process will stop. See an example error below:

Use the left and right rotational arrows to set the start and end position of the motor using Position 1 and Position 2.
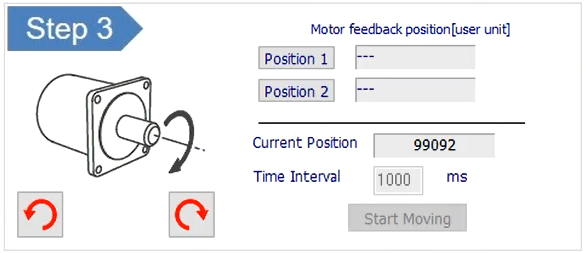
Click Start Moving to get the motor running, then click Next at the bottom of the screen to begin auto-tuning.
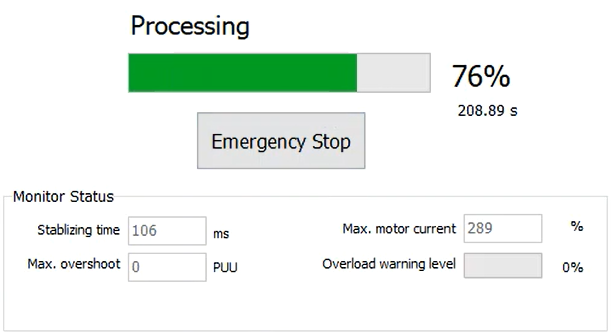
A progress bar will display along with an Emergency Stop button. If you need to abort the tune, click the Emergency Stop button. Once complete, an Auto tuning completed message will display. Click OK to proceed to the results.
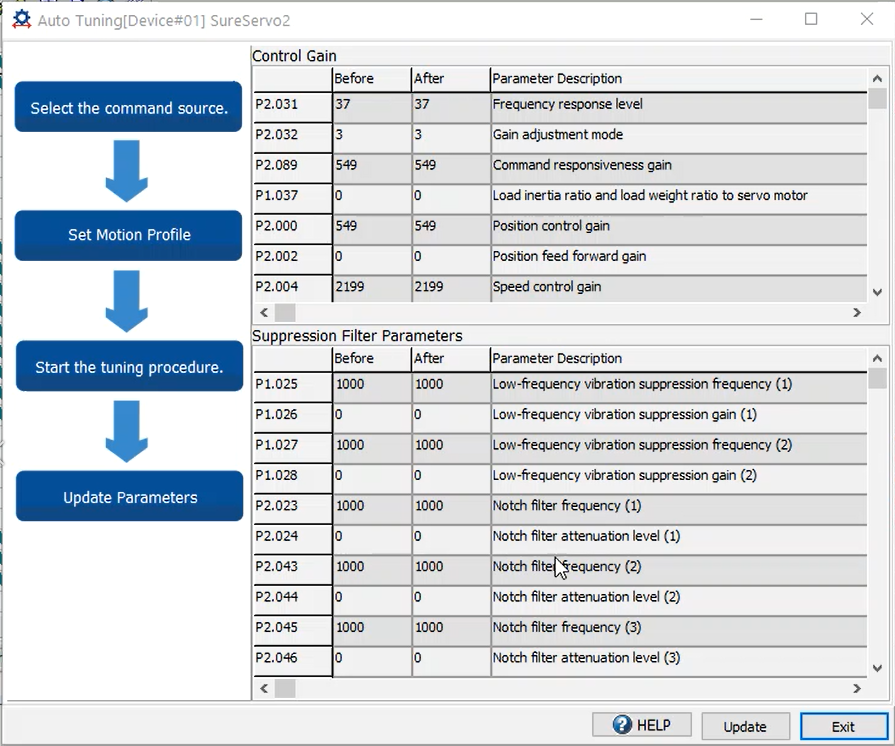
The Results screen displays the before and after parameter values for Control Gain and Suppression Filter parameters. To accept the new values and copy them to the drive, click Update. To reject the auto-tune results and keep the original values, click Exit.
