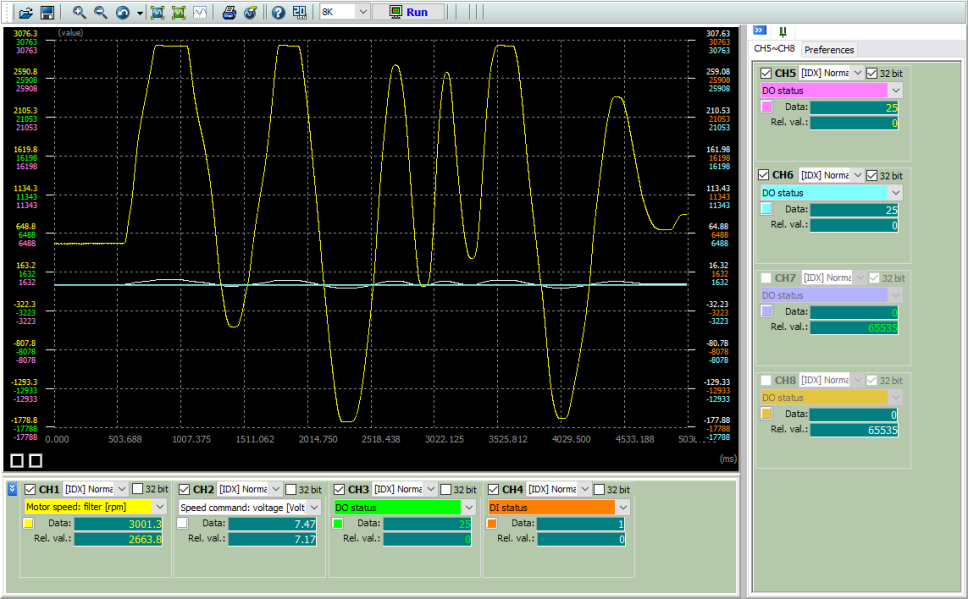
This topic describes how to use the Scope feature of SureServo2 Pro. The following functions are covered here:
1.) Setting up the Scope screen.
2.) Configuring the channels.
3.) Capturing the waveform.
4.) Zooming in the special area or adjusting the time range.
5.) Saving the captured waveform.

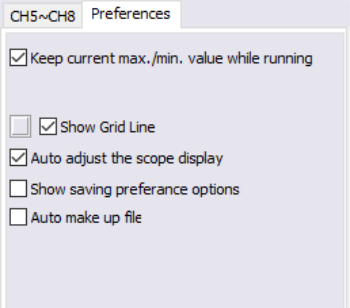
Use the Preferences tab found on the right side of the screen to set up behaviors of the Scope screen.

Keep current max./min. value while running. This option is checked by default. When checked, as the scope starts to capture data, the max./min. value on the Y-axis will be used as the capturing range. To return to the initial setting after capturing the waveform, manually cancel this function.
Show Grid Line. Check this function to show a grid line on the screen; the light-gray button before the checkbox can be used to select a line color. Light-gray is the default setting.
Auto adjust the scope display. This option will reset the size of the display area to a default size. Deselecting will zoom the display area back to where you had it.
Show saving preference options. Changes the options that pop up when you click on the Save button. If this is not checked, you are prompted to save the Scope data. If this is checked, you get a chance to save the Scope data (in an .SCP file) as well as all the Parameters in the drive (in a combined .PARSCP file). The PARSCP file can be opened by the Scope>Open command or from the Parameter Editor window (using the Open command).
Channel settings need to be configured in order to start capturing data. Your channel settings might look like this:

The following options need to be set on the channel toolbar (pictured above):
Check the checkbox for all channels you wish to use.
Choose a command source, [IDX], [ADR], [Mon], or [PAR].
Use the drop-down or text field to specify the source.
Choose 16-bit (default) or 32-bit (checkbox) parameter size. Note that if you choose 32-bit, the paired channel will be closed (1 and 3 are paired, 2 and 4 are paired).
From the top toolbar (see below):
Use the drop-down to choose a channel width of 8kHz or 16kHz. Note that if you choose 16kHz, channels 2 and 4 will be closed to provide bandwidth for channels 1 and 3. This means that if you choose 16kHz channel width and 32-bit parameter size you will only have access to a single channel.
Once the screen is setup and the channels are configured you can start capturing. Click Run to start capturing the waveform.
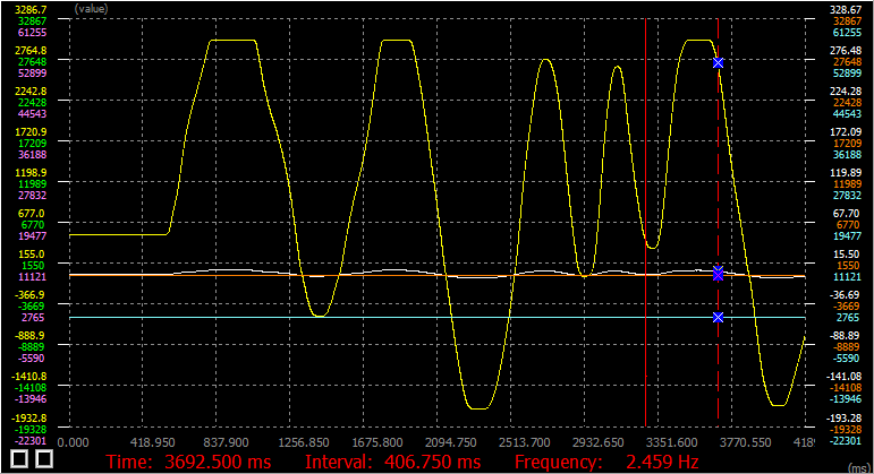
To stop capturing, click Stop. The Scope screen will stop capturing and automatically adjust the view to the user-configured coordinate format.

There are three methods to zoom the view of the captured waveform:
1.) Use the magnifying glass icons on the toolbar to zoom the entire screen in and out.
2.) Press F5 to zoom in or F6 to zoom out.
3.) Click and drag to highlight a section to zoom:
Click and hold the left mouse button at the start point, starting from the top left, and border select the area towards the bottom right corner.
Release the left mouse button and the screen will automatically adjust to the selected area in full screen.
To zoom back out, double-click the left mouse button.
Once the waveform has been captured there are several options for saving.
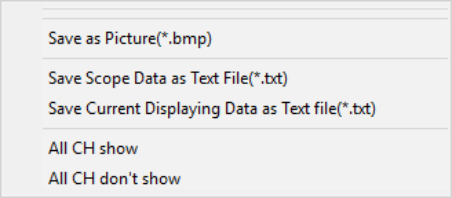
You can click Save as a SCP File on the toolbar to save the waveform in the .scp format. You can also right-click in the Scope screen to bring up the following options menu:

Save as Picture (*.bmp):Click to save the waveform as a bitmap image.
Save Scope Data as Text File (*.txt): Save all the data captured by the scope to a text file.
Save Current Displaying Data as Text File (*.txt):Save the data currently on the screen to a text file.