Screen Selector Object |
Topic: CM385 |
The Screen Selector object provides a either a static menu or a pop-up menu for selecting a specific screen configured in the project.The selector can be populated with all of the available screens, or you can select specific screens to be selectable.
Add a Screen Selector Object
To add a Screen Selector Object button or keypad to your project,
Do one of the following:
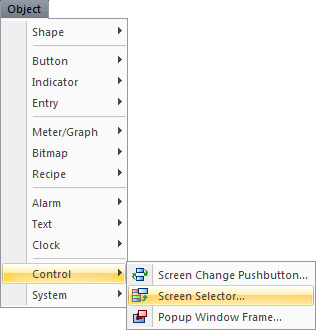
- From the Main menu, click the Object menu and select Control and then Screen Selector
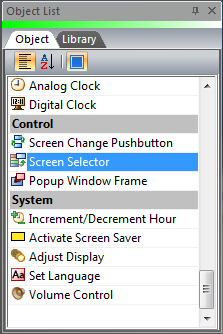
— or — - from the Object List, click the Object tab and under Control, double-click Screen Selector.
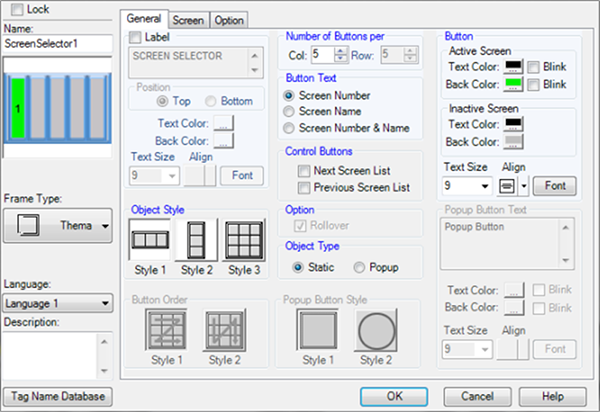
- The Screen Selector window opens displaying the General tab.
- Complete the fields on the screen that are common to all objects using the information in the Working with Objects Help topic.
- Complete the remaining fields on the screen using the information in the table below.
Static: If you are creating a Static Screen Selector Object, which is a keypad, under Object Type select Static and then complete the fields under the following areas on the screen: Object Style, Number of Buttons per, Button Text, Control Buttons, Option, and Object Type, as well as Button colors for active and inactive screens.
Pop-up: If you are creating a Pop-up Screen Selector Object, which is a single button, under Object Type select Pop-up and then complete the fields under Button Text, Button colors for active and inactive screens, and the Pop-up Button Text.
| Screen Selector Object | |
|---|---|
| Field | Description |
| Button Order | This setting is only active when you choose Style 3 of the Object Style.Style 3 has multiple rows and columns, whereas Styles 1 and 2 have a single row or column of buttons.The button order is referring to the layout by screen number. |
| Number of Buttons per | For Style 1 of the Objects Styles, only the Row selector will be active.For Style 2, only the Column selector will be active.For Style 3, both the Row and Column selectors will be active.The maximum number of rows and/or columns is 16. |
| Button Text | Click on the check box of the preferred text to display on the button face from the three choices available: Screen Number, Screen Name, or Screen Number &Name. |
| Control Buttons | Control Buttons: Click on the check boxes to include a Next and a Previous button on this object.The Next and Preview buttons only work when you have more screens than the Number of Buttons selected.These buttons shift to the next set of screen entries available.See below for a series of seven screens (numbered 1-7) shown on a button that holds three Screen Selectors at a time.Pressing the arrow will move to the Next set in the series. |
| Option | The Rollover Option is useful if fewer buttons will display than the quantity of screens that the buttons will select.In this case, the Next Screen and/or Previous Screen buttons will allow the values of the display buttons to scroll up or down to make all selectable screens available.The Rollover Option will allow the Next Screen button to cycle directly from the highest selectable screens to the lowest selectable screens; the Rollover Option likewise allows the Previous Screen button to cycle from the lowest available screens directly to the highest available screens. |
| Object Type | To make the object stay as it is on the screen, select Static. To display a small button that when pressed will pop up the full object, select Pop-up. |
| Pop-up Button Style | This feature becomes active if the Object Type selected is a Pop-up.Select a style for the button. |
| Button — Active and Inactive Screen Text | |
| Button -Active and Inactive Screen Text | It is helpful to know which screen has been selected.The Active Screen Text will apply to the button that represents the presently viewed screen.The Inactive Screen Text will apply to the buttons of the other screens.This is very useful when the Screen selector object is used on a Background screen to know which screen the user is presently viewing and which screens can be selected. |
| Pop-up Button Text | When you select the Pop-up Object Type, this selection becomes active.Enter the text you want displayed on the face of the button. |
- Click OK.
- Continue to the Screen tab in the Screen Selector window.
