Frame Object — General Tab |
CM149 |
The Frame object is used to create a custom object by visually grouping other objects within a custom frame. Frame object is selected from the Shapes section of the Object list.
When the Advanced check box is selected, visibility and table-type frame options become available.
|
|
Note: Visibility can be effective in your project, but it also has a significant cost in terms of CPU resources and noticeably affects screen update rates. |
Add a Frame Object to your Project
To add a Frame Object to your project, do the following:
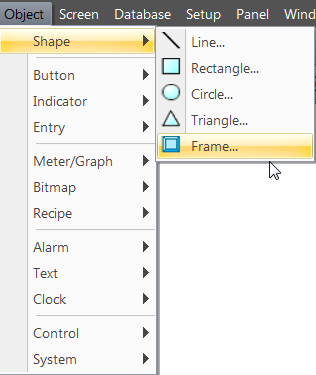
- From the Object menu, select Shape and click on Frame, then click on the Work Area location
— or —
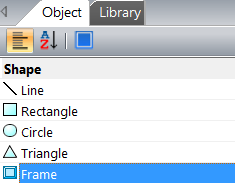
- from the Object List, in the Shape section, double-click on Frame
— or — - click and drag the Frame to the Work Area.
- The Frame Setup window opens displaying the General tab.
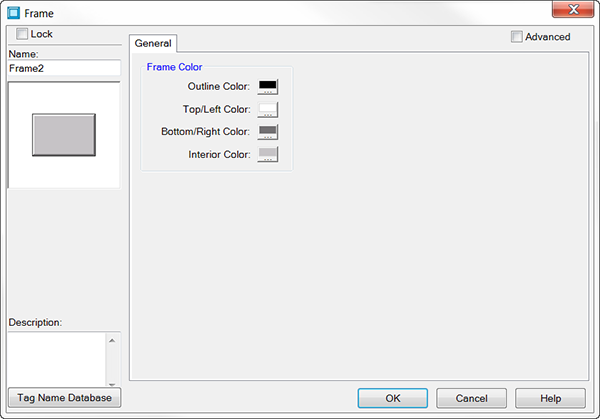
Set Up a Frame Object
The General tab is the default tab and is used for the basic configuration of the Frame Object. If the Advanced feature is selected, additional features are available.
To configure a standard Frame Object, complete the fields on the screen that are common to all objects using the information in the Working with Objects Help topic.
Complete the remaining fields on the screen using the information in the table below.
| Frame Object | |
|---|---|
| Field | Description |
| Interior Color | Click the Interior Color icon and select the color to fill the frame. |
| Advanced | Select this box for advanced features such as Fill color, and animation features such as Visibility. |
Frame Advanced Options
To add animation to a Frame object, click the Advance check box. Using the image below as a reference, complete the fields on the screen using the table below.
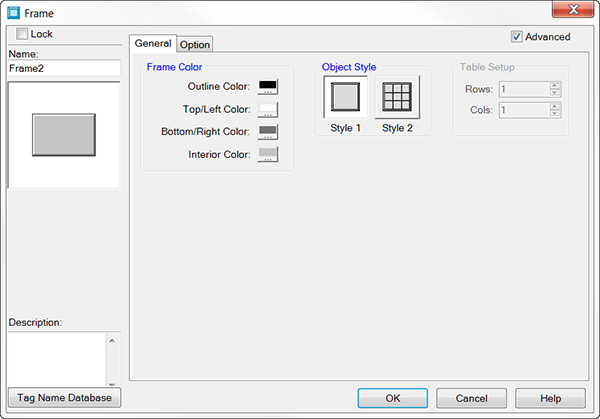
| Frame Object Setup — Advanced Tab | |
|---|---|
| Field | Description |
| Object Style | Object Style 1 - Style 1 is the default Frame object. To the frame, you can add text, numbers, 'buttons' and other objects. Object Style 2 - Style 2 enables you to divide the frame into a multiple row and column table, using the adjacent Table Setup up and down arrows to select the number of rows and columns. To each 'cell' in the table, you can add text, numbers, 'buttons' and other objects. 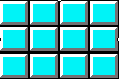 |
| Option Tab | Click on the Option tab to configure the object's visibility options. |
