Add Event Action — Alarm |
Topic: CM025 |
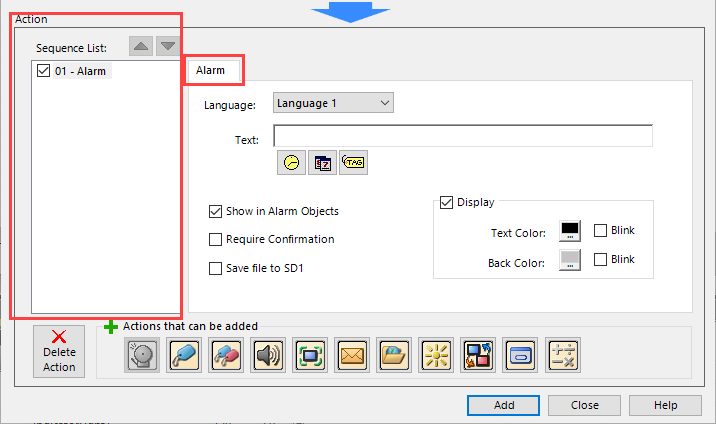
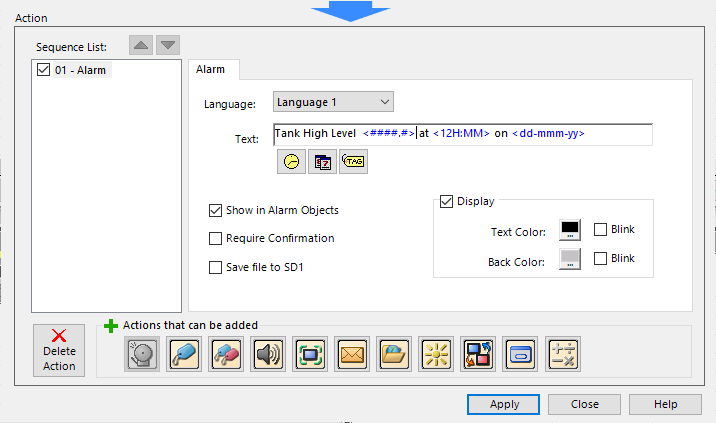
The Alarm action displays the Alarm Text in the alarm banner at the bottom of the C-more panel screen when the event triggers. It also displays the alarm in the alarm List object or the Call Alarm Screen.
You can only associate the alarm action with the Tag Event Type.
You can only use one Alarm action with each event.
By default, an Alarm Action adds to each event type when you create an event. It is disabled for date and time and Screen Change Event types.
Configuring an Action
The basic steps are the same for adding any Event Action to an Event. See Adding Event Actions - The Basics.
| Alarm Action | |
|---|---|
| Feature | Description |
| Language | Select the language for the text in the alarm message. You may enter different text for up to nine languages. The textyou enter for each language displays when you select that language using the Set Language object. |
| Text | Enter the static text for the alarm message. |
| Embedded values | The embedded values can be the current Time, the current Date, or the value of a defined Tag Name. You can embed six items maximum in the Alarm Text field.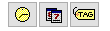 Click the proper icon to format and configure the embedded value. |
| Time | Click the Clock icon to select the Time format and embed this in the Alarm Text. |
| Date | Click the Date icon to select the Date format and embed this in the Alarm text.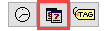 |
| Tag | Click the Tag icon to select and format the Tag Data embedded in the Alarm Text. See also Configuring Embedded Data value in a Message. |
| Show in Alarm Objects | If you want the alarm listed in the Call Alarm Screen or Alarm List objects, click the Show in Alarm Objects check box. |
| Display | If you want the alarm text displayed in the Alarm Banner at the bottom of the C-more screen, click the Display check box. If unchecked the Alarm does not show in the Alarm Banner when the user triggers the Event. |
| Require Confirmation | If you select Require Confirmation, the user must confirm the Alarm Details pop-up in the Alarm List (or Call Alarm Screen) object before the user can clear it. |
| Save file to SD1, or USB 1, 2, or 3. | You can log the alarm in the Alarm Log file. Click the Save File check box. The Alarm Log file is stored on the memory device that is selected in the Panel Manager's Data Storage — Alarm Save To: box. 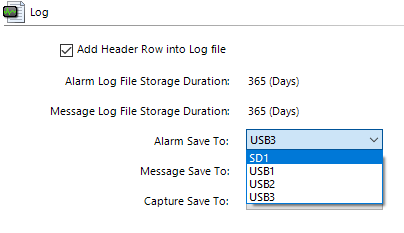 The alarm Data is saved in a format as Time of occurrence + Date of occurrence +Alarm Text. Example of Alarm Log File Name: ALARM_YYMMDD.txt A new Alarm file is created each day. The file saves in the selected memory device for 365 days. On the last day, the file automatically deletes. |
| Text Color and Back Color | Select the color of the Alarm Text in the Alarm Banner at the bottom of the panel screen. |
An example of an alarm action, including a text Message with embedded data, is shown below.
|
|
Note: You can select the option to suppress scientific notation (exponential notation) when using Floating Point Data in the Panel Manager window. This is a global selection and applies to all Floating Point Data display objects. |
