SureServo2 Pro allows you to update the servo drive firmware. This will allow you to field-install any new features or bug fixes a new firmware revision may offer. For instructions on updating the Ethernet card firmware, please refer to the User Manual or the videos below.
SureServo2 - Com Card Installation
SureServo2 - Com Card Firmware Update
Follow the steps below to update the SureServo2 drive firmware:
1.) Go to the SureServo2 support page at go2adc.com/sureservo2 and download the latest SureServo2 drive firmware (*.upd).
2.) Compare the version and subversion information to P0.000 (firmware version) and P5.000 (firmware subversion). If the latest file matches your drive, you have the latest firmware and do not need to update. If there is a difference, review the changes for the updated firmware to see if you want to update to the latest version.
3.) If you decide to update firmware, connect to the drive with SureServo2 Pro software. In the Parameter Editor, upload all the current values. This saves your current configuration and verifies that communication is solid.
4.) In Windows, open the PC Connection Setting window and note which PC COM port the USB driver is using to communicate with the drive.
5.) Press the Online/Offline button to go Offline (stop communications to the drive).
6.) Ensure that the Enable Digital Input on the Drive is OFF. Remove R, S, T incoming power. Keep L1 and L2 control power on the drive.
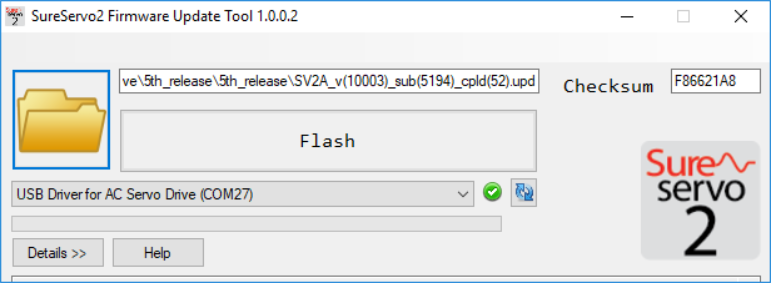
7.) In SureServo2 Pro, use the top menu to go to Burn→Firmware Update Tool. This will launch the firmware update program to update the firmware. Note that you may get a blue popup with Windows protected your PC. If this happens, just click More Info, then click Run anyway to launch the installer.
8.) Verify that the COM port on this screen matches the COM port you were using to communicate with the drive in the earlier steps. Pressing the blue “refresh” icon will re-scan for USB Drivers.
9.) Click the folder icon to locate the firmware file that you previously downloaded from AutomationDirect.
10.) A button labeled Flash will appear. Press that button to begin firmware updating.
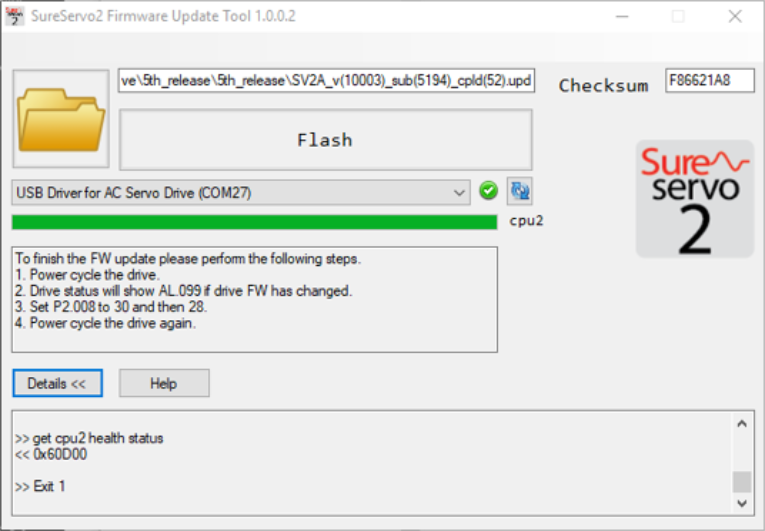
Note: The actual firmware update process will take approximately 10 to 20 seconds. Clicking the Details button during this process will display step-by-step status.
11.) After the firmware is updated, the green progress bar will show that the process is complete and the keypad LED on the drive will display “r.boot”.
12.) Power Cycle the drive (disconnect AC control power and disconnect the USB cable). Reconnect both.
13.) The drive may display AL099 if the parameter set has changed (i.e.: the new firmware supports more parameters than the previous firmware). AL099 is for informational purposes only. No action is needed.
14.) Set P2.008 to 30. The keypad will display Saved.
15.) Set P2.008 to 28. The keypad will display SV-On.
16.) Power cycle the drive again (disconnect AC control power and disconnect the USB cable).
The firmware update process is now complete. Click the X in the upper right corner of the Firmware Update Tool to close it.