Topic: CL156

| Creating Parallel Rungs |
Topic: CL156
|
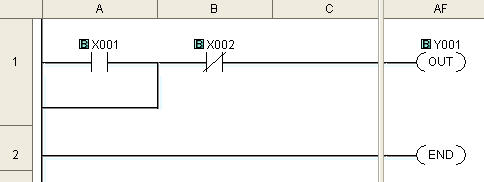
Parallel Rungs are easy to create using the Line Tool.
|
|
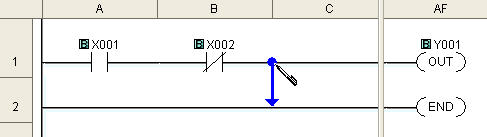
Example: You have created a line of logic, but you need to add one or more contacts in parallel with the contacts in first rung. Select the Line icon |
|
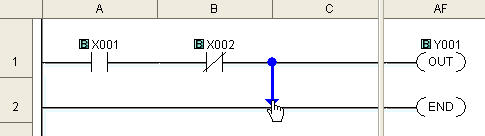
Click on the Down arrowhead to expand the direction choices.
Once the vertical line segment is started, you can change directions by clicking on another arrowhead. This sample shows using the Left Arrow.
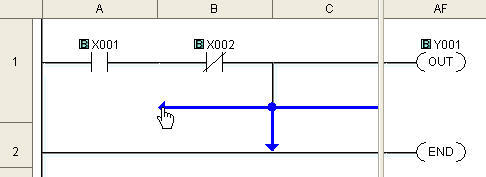
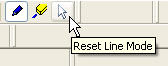
Continue the line in this manner until you reach your destination. Then, select Reset Line Mode to return to normal editing. Now, you can add contacts to the new rung as needed.
Select the Line Tool to change the Edit Box into a Blue Arrow. The Blue Arrow will replace the Edit Box until you use Restore Line Mode to return to the Edit Box.
|
|
Note: While the Line Tool is in use, the cursor will toggle between a pencil cursor |
|