Multi-State Bitmap Object |
Topic: CM272 |
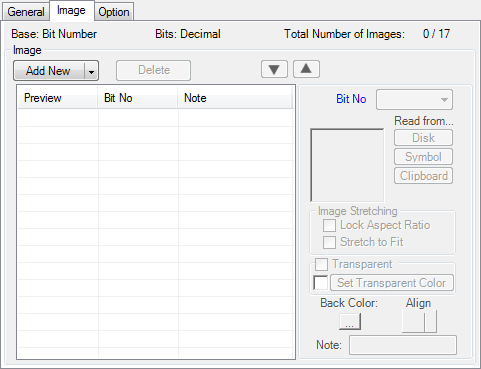
The Multi-State Bitmap Object is used to display a Frame with Bitmap Images. This Object includes an Image Tab where the user can enter Images configured to display according to the assigned Tag Names or Bit Numbers.
Add a Multi-State Bitmap Object to your Project
To add a Multi-State Bitmap object to your project, do the following:
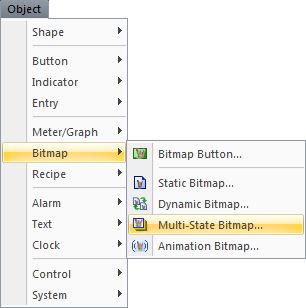
- From the Object Menu, select Bitmap and then Multi-State Bitmap
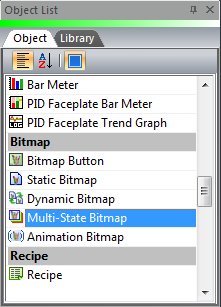
— or — - from the Object List, scroll to Bitmap and double-click Multi-State
— or — - from the Object List, scroll to Bitmap and in the Parts List, click and drag Multi-State Bitmap to the work area.
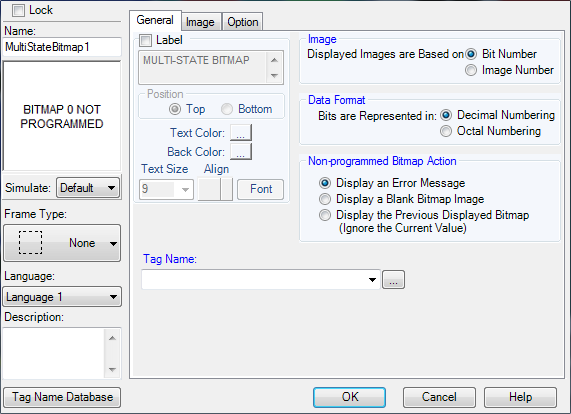
The Multi-State Bitmap window opens displaying the General tab.
- Complete the fields on the screen that are common to all objects using the information in the Working with Objects Help topic.
- Complete the remaining fields on the screen using the information in the table below.
| Multi-State Bitmap Object | |
|---|---|
| Field | Description |
| Lock | Select this check box to prevent the object's position or size from being changed accidentally. |
| Image | Click to select whether the Images are displayed according to a Bit Number or a Message Number; reflected on the image setup tab. |
| Data Format | Only active if Bit Number is selected for Image. |
| Bit Number | Bit Number would be selected for an image to be displayed when a specific Input is activated. For example, a set of access/occupancy switches that are assigned bits of a word in PLC memory (the Tag Name address), will display a unique image based on where someone enters the facility. The bit that is active in the Tag Name will select the corresponding image. Note that the Tag Name must only have one active bit. If the Tag Name value has more than one active bit then the Non-Programmed Bitmap Action will display. |
| Image Number | Image Number would be selected if there is no convenient correlation to bit of word. For example, an image will display based on unrelated triggers; the PLC identifies which image is appropriate and loads the corresponding value to the Tag Name address. This value will select/determine the corresponding image in the object. If the Tag Name value does not correspond to an image identification number (as configured on the Image Tab) then the Non-Programmed Image Action will display. Note that after the images have been configured, changing from Bit Number to Image Number (on the General Tab) will CHANGE the image identification number (on the Image Tab) and changing from Image Number to Bit Number will DELETE Image Numbers that don't correspond to the value of the bit of word. The quantity of messages is determined by the Bit/Image Configuration and the Tag Data type (for Bit Number,) but may not exceed 255. |
|
|
Note: Stretch to Fit is a convenient, but uses a large amount of CPU resources. When possible, use a graphics program to render the bitmap to the desired fit and save the bitmap file. Use the revised bitmap file in the object in C-more. |
