Setting Up Virtual Axes
A virtual axis behaves like a real axis but doesn’t need a physical servo drive. A non-dedicated virtual axis will use up one available axis slot on the XMC. A virtual axis requires using the LS_Connect function block to connect the EtherCAT network and also requires using the MC_Power or MC_PowerAll function block to turn servo on before any movement commands can be executed.
-
The XMC-E08A supports 8 real/virtual axes and 1 dedicated virtual axis.
-
The XMC-E16A support 16 real/virtual axes and 2 dedicated virtual axes.
| Step | Action |
|---|---|
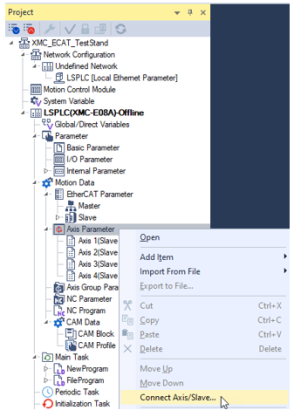
| 1 | In the Project window, right-click on Axis Parameter and select Connect Axis/Slave…
|
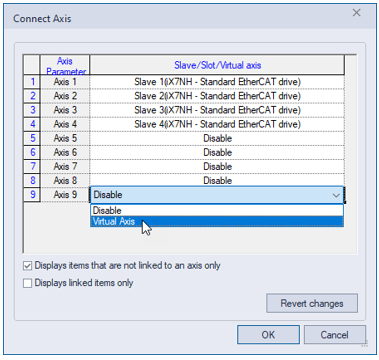
| 2 |
Click on an axis and select Virtual Axis. Any axis can be selected. Press OK when done. Note: For the EMC-08A, Axis 9 is the dedicated virtual axis. Note: For the EMC-16A, Axes 17 and 18 are the dedicated virtual axes. EMC-08A:
EMC-16A:
|
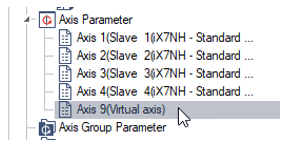
| 3 |
Double-click on the virtual axis that was created in Step 2. This will open the Axis Parameters screen.
|
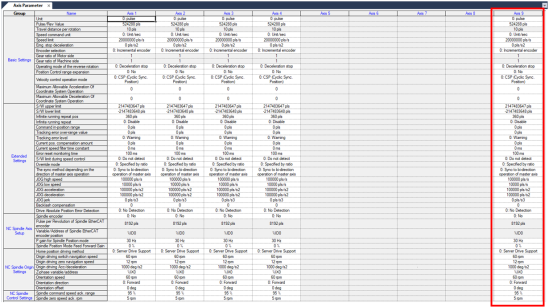
| 4 |
Configure the parameters for the virtual axis. This example shows Axis 9 being used as a virtual axis.
|

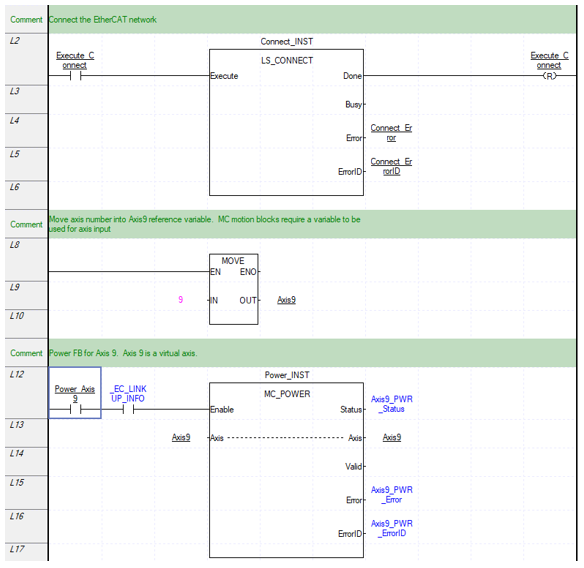
A virtual axis behaves just like a real axis in the motion code. An LS_Connect function block call must be performed before executing any motion code. An MC_Power must be executed before any movement commands can be executed.
Example Code
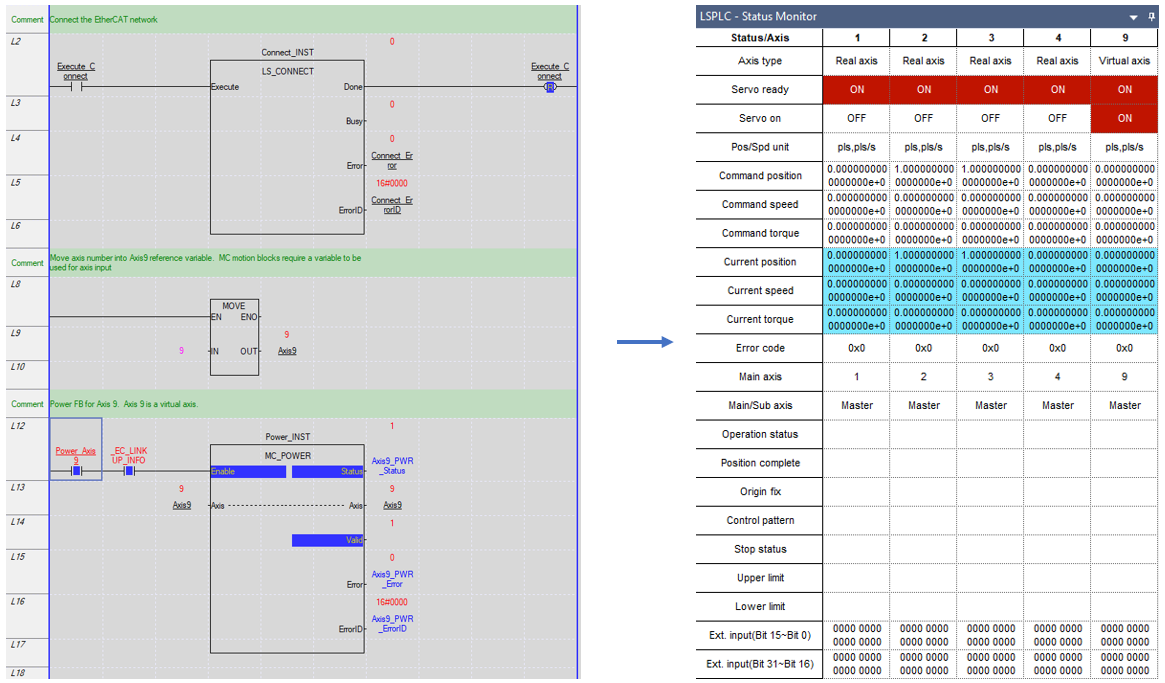
Monitor Mode for Example Code
Note: Access Status Monitor window in View menu è Status Monitor window.
LM404