Modbus TCP Client Setup
Video Tutorial
Client Setup Steps
| Step | Action |
|---|---|
| 1 |
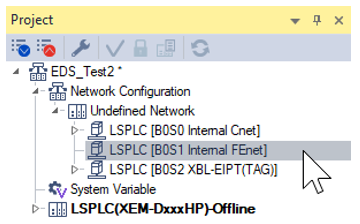
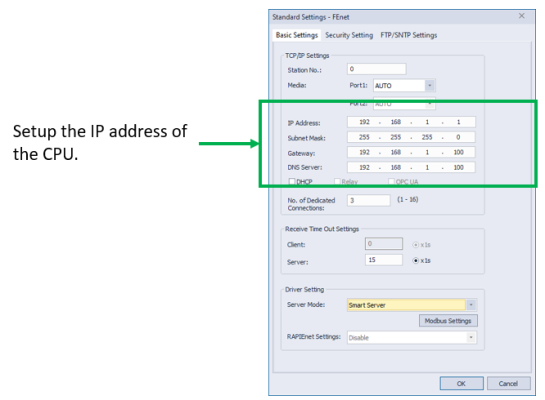
Open the Internal FEnet settings. Setup FEnet parameters.
|
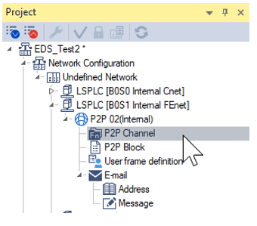
| 2 |
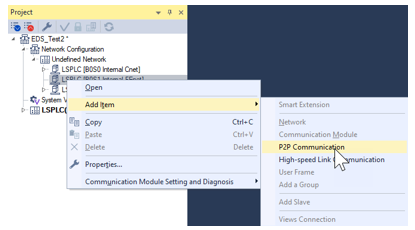
Right-click on the Internal FEnet settings. Select Add Itemè P2P Communication.
|
| 3 |
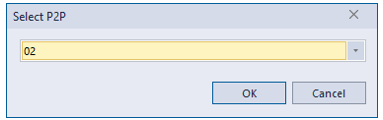
Press OK to add P2P 02 option to Internal FEnet.
|
| 4 |
Open P2P Channel.
|
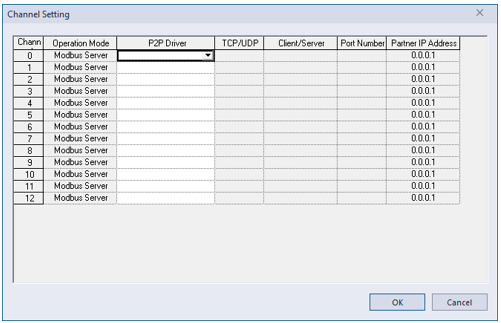
| 5 |
Select P2P Driver Modbus TCP client in a Channel. This example uses Channel 0.
|
| 6 |
Add the IP address of the Modbus TCP server. This example uses 192.168.1.10.
|
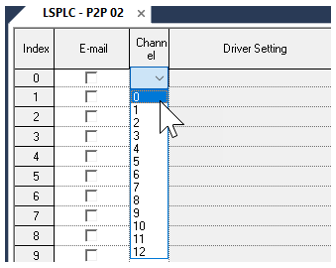
| 7 |
Open P2P block to create entries for Modbus function codes.
|
| 8 |
Choose an available index in the P2P block. Select the Channel number of the Modbus TCP client from the P2P Channels. This example uses Channel 0.
|
| 9 |
Choose READ for Modbus TCP read or WRITE for Modbus TCP write.
|
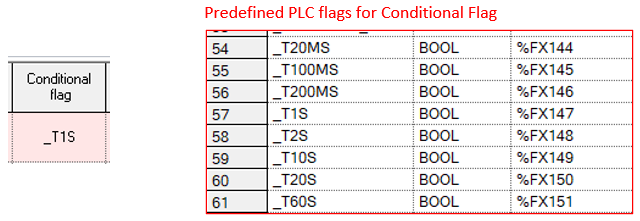
| 10 |
Enter a Conditional Flag. Enter a variable tag name to determine the communication rate of the block. It is recommended to use the predefined Flags built into the processor. This example will use _T1S to communicate every one second.
|
| 11 |
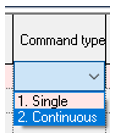
Choose a Command type. Set to Single to only read/write 1 unit of the data type. Set to Continuous to read/write the number of units in the Data Size field.
|
| 12 |
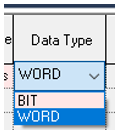
Choose the Data Type.
|
| 13 |
Enter the Data size. This is the number of units to read or write of the Data Type selected. Destination station number might need to be set to ‘1’ for some devices.
|
| 14 |
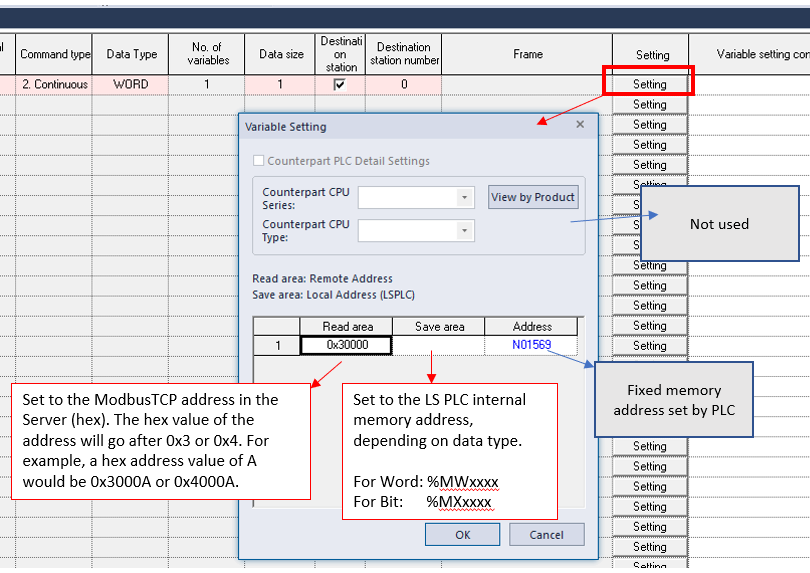
Press the Setting button. Enter the information shown below.
This is an example of a valid Modbus TCP client block. The row will be Red if any errors are present.
|


LP201-2