Modicon Modbus TCP/IP Protocol Setup |
Topic: CM335 |
The following information applies for the Modicon Modbus TCP/IP PLC compatible with C-more Panels.
The C-more panel is the master by default.
|
|
Note: We continue to add device-specific drivers to simplify configuring communication with popular modbus devices. Refer to the What's New topic for recently added device-specific modbus drivers. |
C-more Protocol Manager Settings
- Do one of the following:
- Click the Protocol Manager button on the Home tab
— or — - Click the Protocol Manager button on the Setup tab
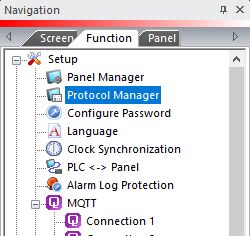
— or — - from the Navigation window, click the Function tab, click Setup and then select Protocol Manager.
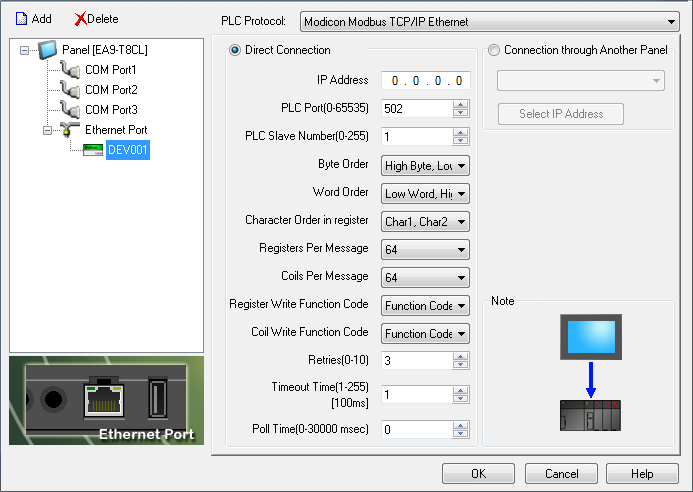
- From the Protocol Manager window, click the Device name on the tree to the left.
- The Device Setup window opens.
- From the PLC Protocol field, click on the down arrow
 and select Modicon Modbus TCP/IP Ethernet.
When you select a different PLC Protocol than the one currently in use, the warning Message shown below appears.

- Click Yes to accept.
All of the following settings must be set the same as the settings in Panel Manager in the C-more Programming Software. The C-more Panel Manager is shown above with the Modicon Modbus TCP/IP Ethernet driver selected.
Setup Modicon Modbus TCP/IP Using Concept
- On the Main Menu of the Concept Start window, select Project.
- From the Project drop-down menu, select Configurator as shown below.

- The PLC Configuration window shown below opens.
- From the PLC Connection window shown above, select the Ethernet I/O Scanner under Config Extensions and Open Dialog button located on the bottom left side of the window.
- The Ethernet I/O Scanner window shown below opens.

- On the Ethernet I/O Scanner window, configure the Internet Address to match the specified IP Address in the C-more Panel Manager. In addition, the Subnet Mask should match the C-more Panel Manager settings.
- Click on the OK button.
Once the Ethernet I/O Scanner Settings are completed, you have to connect and download.
- Select Online from the Main Menu and from the Online drop-down menu, select Connect as shown below.
- The Connect To PLC window shown below opens.
- From this window, choose the appropriate communications means for your controller (probably Serial if you are configuring the IP settings of the PLC). Be sure to choose Change Configuration on the bottom left side to download the changed IP Address settings.
- Click on the OK button when done.
- Once connected, select Online from the Main Menu.
- Select Download as shown below.
- The Download Controller window shown below opens.
- From this window, choose the items to Download.
- Choose Configuration for the port settings to transfer.
- Once this is done, you should be able to connect the C-more panel to the PLC.