GE 90/30 and 90/70 SNPX Protocol Setup (GE PLC Setup) |
Topic:
CM154 |
This help file includes set-up information for GE PLC. This information applies to the GE 90/30 and 90/70 SNPX PLC compatible with C-more Panels.
The C-more panel is the master by default.
C-more Protocol Manager Settings
- Do one of the following:
- Click the Protocol Manager button on the Home tab
— or — - Click the Protocol Manager button on the Setup tab
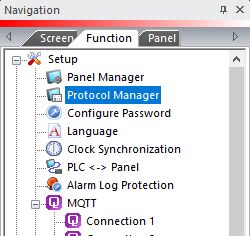
— or — - from the Navigation window, click the Function tab, click Setup and then select Protocol Manager.
- From the Protocol Manager window, click the Device name on the tree to the left.
- The Device Setup window opens.
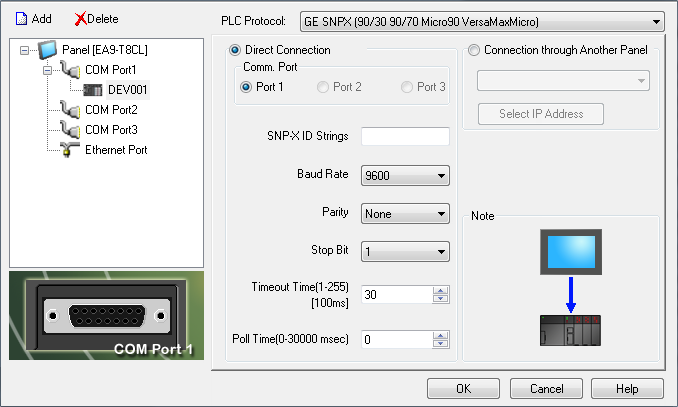
- In the PLC Protocol field, click on the down arrow
 and select GE SNPX (90/30 90/70 Micro90 VersaMaxMicro).
When you select a different PLC Protocol than the one currently in use, the warning Message shown below appears.

- Click Yes to accept.
All of the following settings must be set the same as the settings in the C-more Programming Software Protocol Manager. The C-more Protocol Manager is shown above with the GE SNPX (90/30 90/70 Micro90 VersaMaxMicro) driver selected.
Set Up GE 90/30 Pro with Cimplicity
To set up the GE 90/30 using the GE Cimplicity Programming Software, do the following:
-
From the left side of the explorer window shown below, click the Project tab (4th tab from the left).
- On the Project tab, scroll to Hardware Configuration shown in the figure above, and expand it.
- Expand the Main Rack option.
- Double-click on Slot 1 (CPU Slot).
- The Configuration window opens in the main pane of the software as shown below.
- Click the Settings tab in the main software pane to configure the serial port.
- Match the following parameters to your PLC setup in the C-more Protocol Manager settings.
- Baud Rate
- Parity
- Stop Bits
Also match the following:
- SNP ID of the GE software to the SNP-X ID String of the C-more Panel Manager.
|
|
Note: No SNP-X ID String is needed if this is a point-to-point connection. If there are multiple PLC connected to the C-more panel, then each SNP-X ID string needs to be unique. This name is case sensitive. |
- Once you have completed configuring the communications ports, click the Target menu and select Download "Target xx" to PLC..., as shown below.
- The Download to PLC window shown below opens.
- Be sure to select Hardware Configuration and Motion in this dialog box before clicking OK to download the changed configurations to the PLC.
Once completed, you can connect the C-more panel to the PLC.